Family photos capture life’s most precious moments, but they’re often hidden away on our phones or computers. Bringing these memories into your daily life by displaying them on your walls is one of the most rewarding ways to make a house feel like home.
I’ve been working on my own gallery wall recently, planning a display for above our sofa. It’s been such a fun process, and seeing the progress has reminded me how these simple touches can transform a space into something truly personal. Whether you’re creating a display in your living room, along the stairs, or in a child’s bedroom, I hope this guide inspires you to showcase your favourite moments in a way that makes you smile every day.
In this article, I want to share what’s been useful for me and what I’ve learned through my research. Whether you’re starting from scratch or just looking to refine your ideas, I hope these tips inspire you to create your own photo wall.
Where To Place Your Gallery Wall
The first step in creating a gallery wall is deciding on where you would like the gallery wall. The location of your gallery wall will depend on where you’ll enjoy it the most. Think about spaces that could use a little personality or areas where you’ll be or pass by often.
- Living Room: Above the sofa, a sideboard, or the mantel for a central display.
- Stairway or Hallway: These transitional spaces are ideal for showcasing memories.
- Bedrooms: A gallery wall adds a cosy, intimate touch to your personal space.
- Kids’ Rooms: Children love seeing photos of themselves and their loved ones, making this a thoughtful addition to their spaces.
Choosing Your Gallery Wall Style
The next step in creating a gallery wall is deciding on a style that suits your personality and your space. Two popular approaches are minimalist and eclectic, each offering its own charm.
Minimalist Style
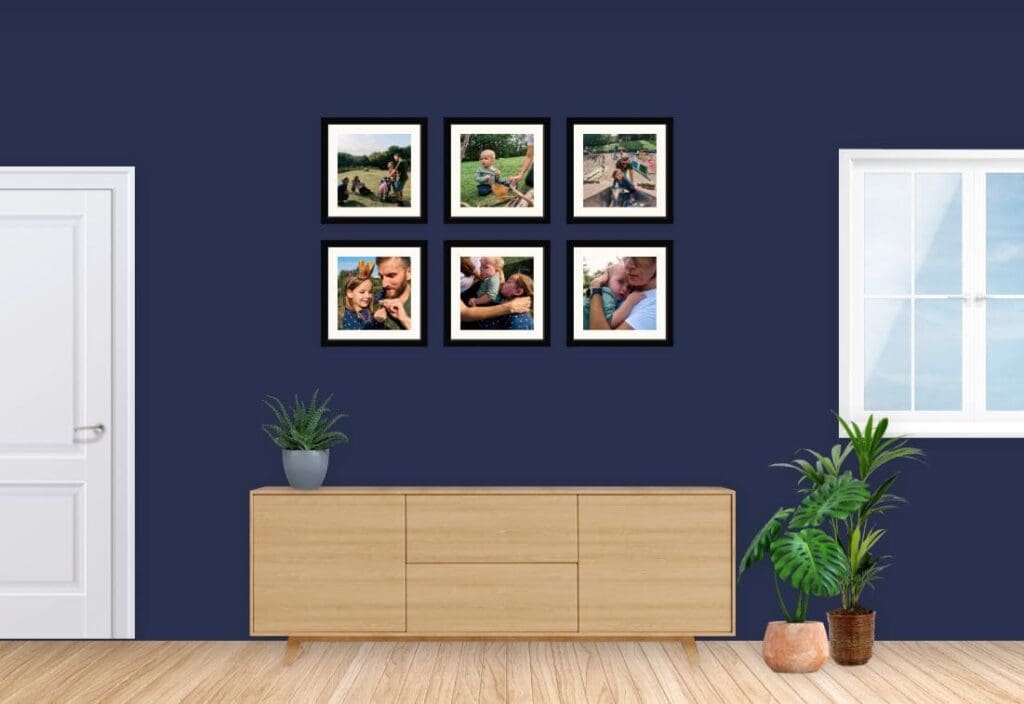
A minimalist gallery wall emphasises simplicity and order. If you love clean lines and an organised look, this might be the perfect style for you.
- Uniform Frames and Sizes: Choose matching frames in one colour, such as black or white, and opt for photos of the same size for a polished appearance.
- Grid Layout: Arrange your frames in a neat grid, with even spacing between each one. A grid of nine equally sized frames, for example, creates a timeless and symmetrical display.
- Photo Focus: Stick to photos only, perhaps in black and white, to keep the wall sleek and cohesive.
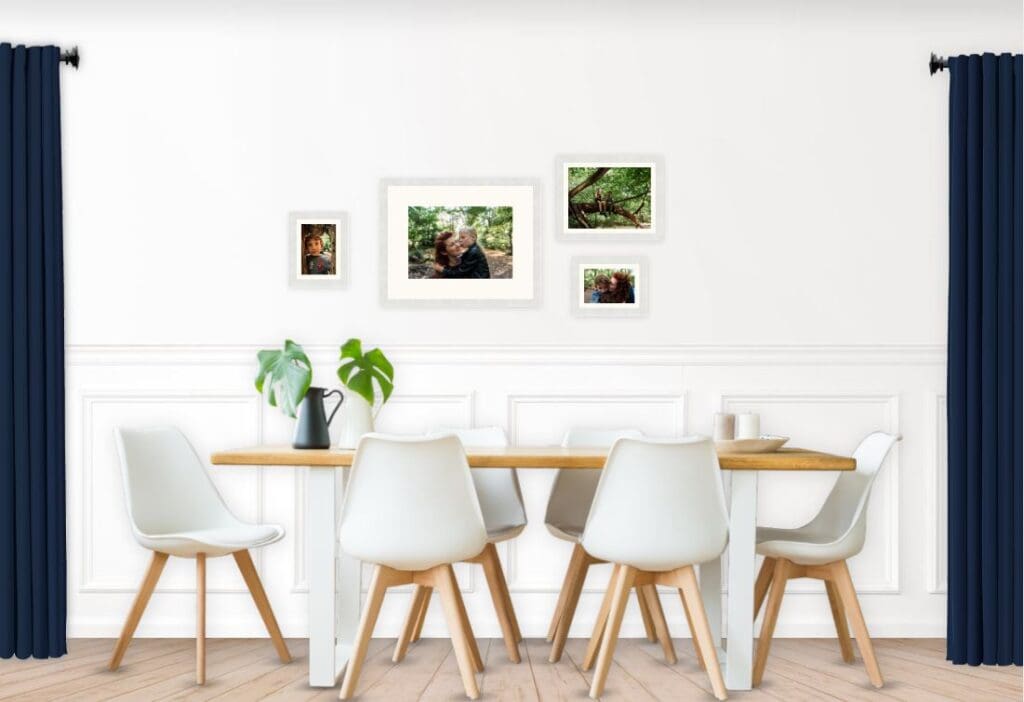
Eclectic Style
An eclectic gallery wall is an opportunity to put in some more personality and looks more creative. This style is perfect for mixing media and making your wall a conversation starter.
- Mixed Frame Styles: Combine frames of various sizes, colours, and finishes for a playful, personalised vibe.
- Layered and Multi-Media: If you want you could incorporate more than just photos (this is not a must). You can for example include kids’ artwork or memorabilia like postcards, concert tickets, and travel souvenirs, or include quotes or other art work for a display rich with meaning and personality.
- Asymmetrical Layout: Start with a larger focal piece and build around it, mixing horizontal and vertical frames with unique spacing.
Ready to celebrate your family exactly as you are?
Visualising Your Gallery Wall
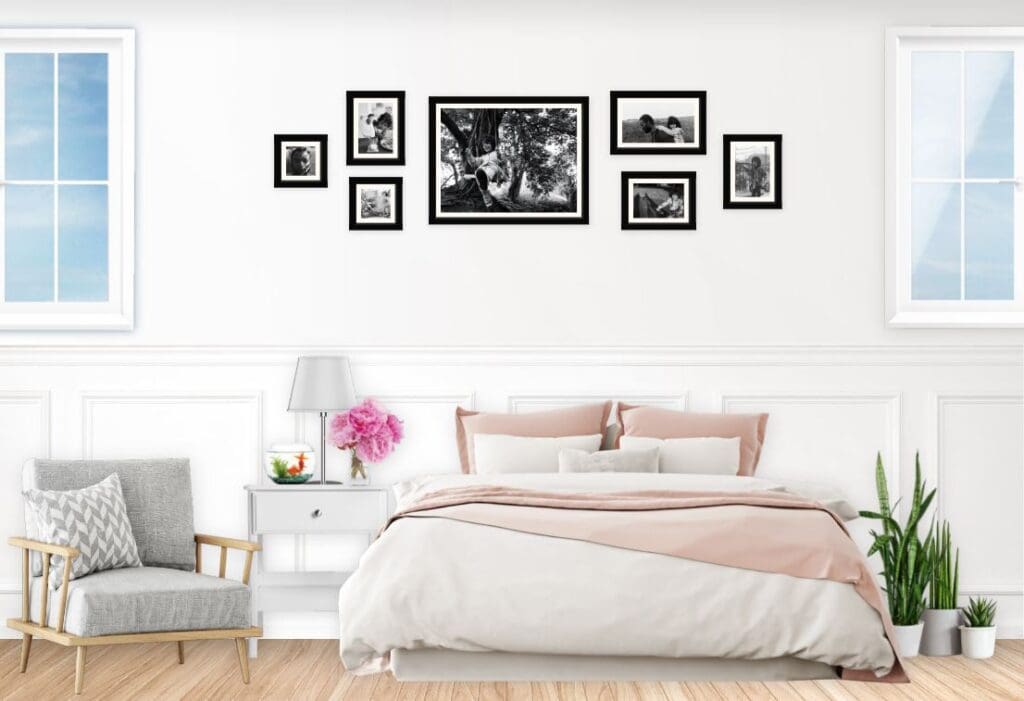
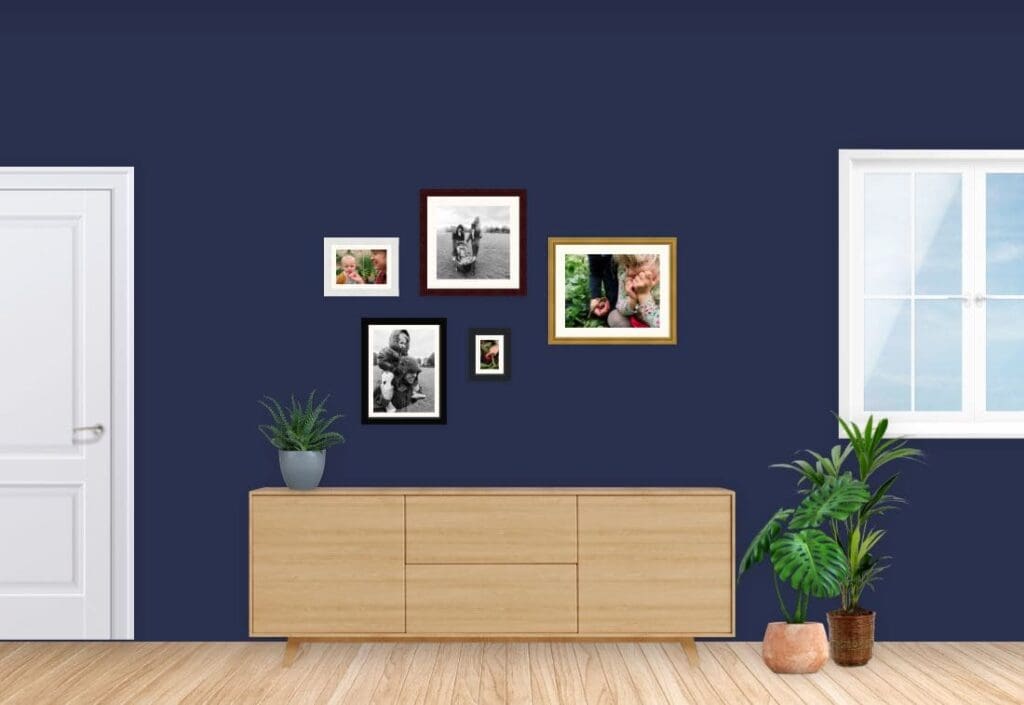
One of the best tools I’ve come across while planning my own wall is Printique’s Wall Editor. This free tool makes it easy to experiment with layouts, frame sizes, and even how different photo styles—like black and white versus colour—will look together. You can upload a photo of your own wall to see exactly how your display will fit the space. All these wall gallery mock-ups in this blog post have been made with this tool.
This tool has been a game-changer for me, helping me decide on the layout of my wall gallery and making sure my photos work well together. Whether you’re going for a minimalist grid or an eclectic arrangement. The visual mock-up really helped me to know about the sizes to order for each of my framed photos. This tool will help you feel confident in your choices before you start hanging.
Curating and Arranging Your Display
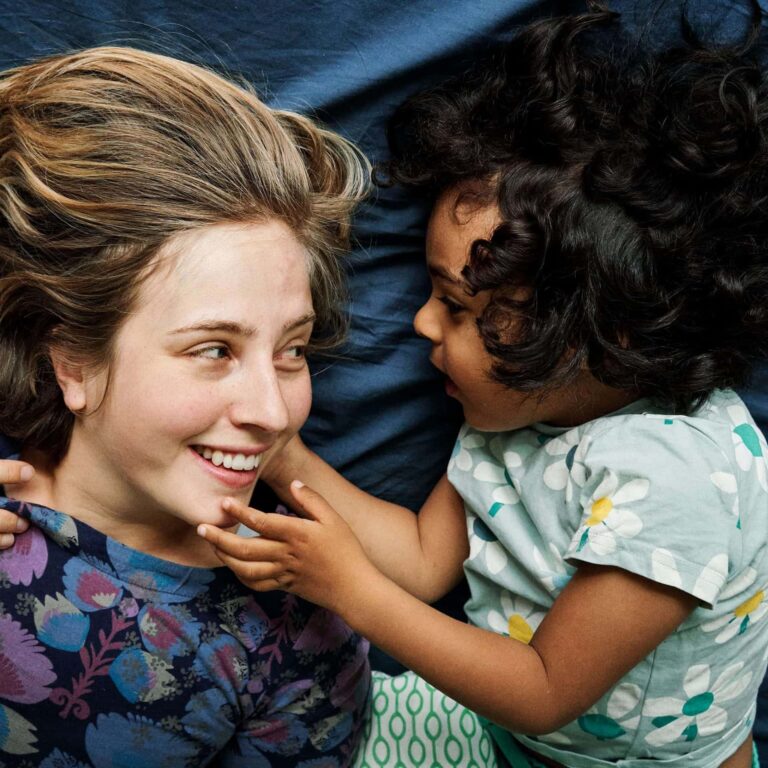
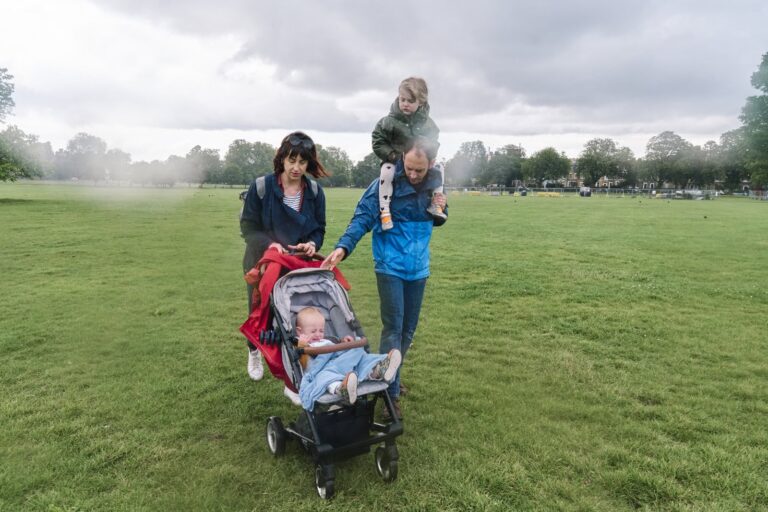
When choosing which photos to use for your gallery wall, I encourage you to choose the photos that evoke emotion or special memory for you. I would encourage you to choose that imperfect photo that triggers happy feelings in you over an image that is perfect or where everyone is looking into the camera. Choose images you’d be happy to see every day and that put a smile on your face and remind you of what’s really important in life.
Next, decide whether you want to use colour or black-and-white photos. Black-and-white images create a timeless, cohesive look, while colourful photos can add warmth and vibrancy to your wall. You might even choose a mix of both for a dynamic effect.
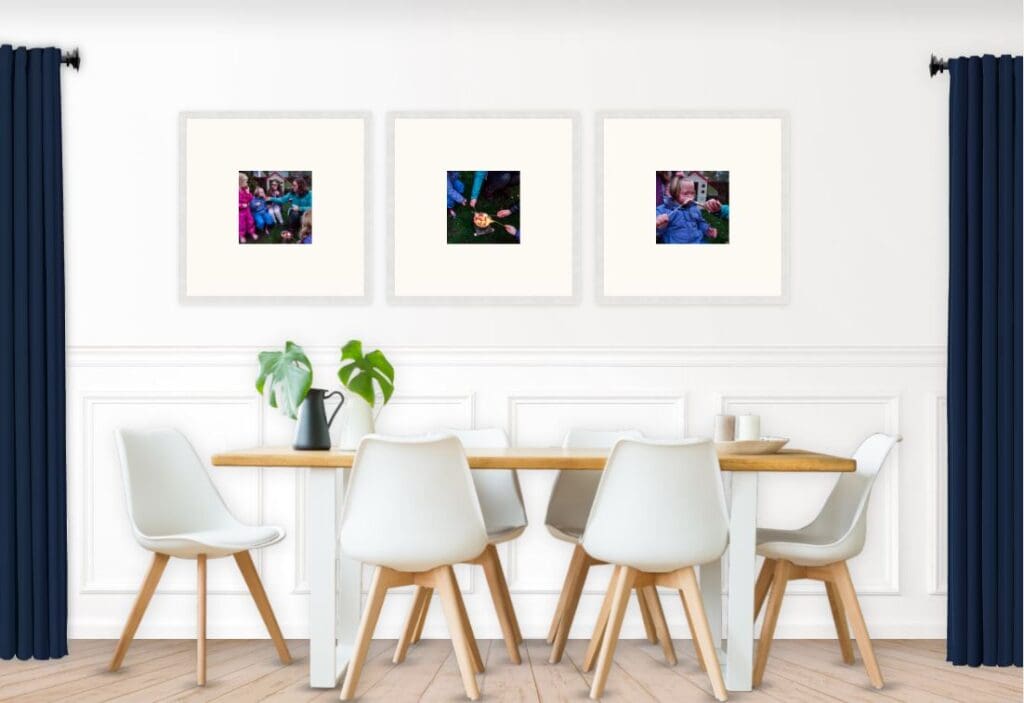
For a Minimalist Wall
Select a curated collection of photo, you could stick to one theme or base the gallery wall on one photo session. Black-and-white images can add a timeless, cohesive feel as well.
For an Eclectic Wall
Mix different sized candid photos (possibly with meaningful memorabilia). Lay everything out on the floor first to experiment with placement. Tape off an area on your floor matching your wall space to visualise the arrangement before hanging.
Hanging Your Gallery Wall
Once you’re satisfied with your layout, it’s time to hang your frames. Precision is key here. Use a ruler or measuring tape to ensure even spacing—typically 2 to 6 inches between pieces works well, but you can adjust this based on the sizes of your frames and the wall space you have.
If you prefer, you can cut frame-sized pieces out of craft paper and stick them on your wall. This lets you experiment with placement and positioning without committing to holes or hooks. You can adjust the layout as much as you like until it feels just right. This step is especially helpful if you’re incorporating items like memorabilia or artwork alongside your photos.
If you want to avoid drilling into your walls, consider alternatives like velcro command strips. This option is easy to use and minimises damage to your walls, making it perfect for renters or those who dislike drilling or like to rearrange frequently. We have used these strips for many of our photos around our home and they have worked well so far.
Evolving Your Wall Over Time
Gallery walls don’t have to be static. I love the idea of growing a gallery wall over time, adding new photos and pieces as our family creates more memories. If you want to create something that evolves over time, then I do recommend you choose initial first images from different time periods, this approach ensures your gallery wall tells an evolving story. Also make sure to leave some blank space around your initial arrangement.
- Minimalist Walls: Stick to your original layout and frame style to maintain symmetry.
- Eclectic Walls: Starting with three or four larger pieces and then adding smaller photos later can make the wall feel more organic and dynamic.
Creating a gallery wall isn’t just about decorating your home—it’s about surrounding yourself with memories and the people you love most. As I work on my own display, I’ve found it’s a process of creativity and reflection, and the result is something that brings joy every day.
Whether you choose the structured elegance of a minimalist gallery wall or the layered creativity of an eclectic one, your photo display will bring warmth and personality to your home. With thoughtful planning and a little creativity, your walls can become a celebration of the moments and people that matter most.
If you want beautiful family photos filled with real memories—photos that truly reflect your story and are perfect for hanging on your wall—contact me today. Let’s create something meaningful together!
Further Resources
- This YouTube video on how to create a photo wall has lots of great tips and examples!
- Pinterest has loads of great examples of all kinds of different photo gallery walls that you can use as inspiration for your own